Fully Printed Arcade Game Machine
5493
11

Sevro
@Sevro
| Designs: | 60 |
| Downloads: | 61683 |
| Followers: | 14 |
| About me: | I'm hobbyst and enthusiast of 3d printing. I love inventing things and bringing them to life. In my designs, I try to achive good looks and usability. |
Product description
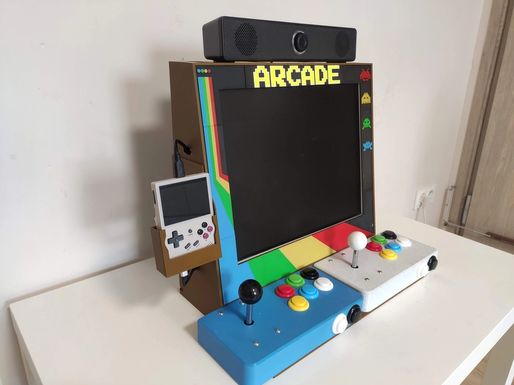
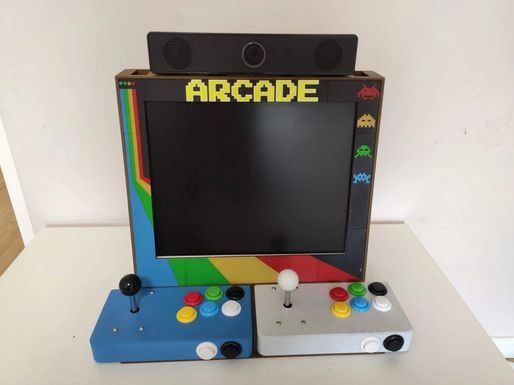
My kids got a little older, so I decided to introduce them to the world of games, starting with the oldest systems. For this purpose, I wanted to make them a simple console with old games. I present the result of my work here. The console works as a docking station for small consoles such as Anbernic RG35xx or as a stand-alone console using Raspberry Pi (3A+ in my case) The monitor I used was an old LG Flatron 17 inch that was gathering dust in the attic and can now be bought for pennies.
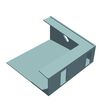
The console is designed so that it can be printed on a Bambu Lab printer. It consists of 4 main elements that are attached to each other using glue and additional mounting stickers. I also designed joysticks for the console, which can be downloaded at the address below.
https://3dprintshelf.com/product-details/937/
They can be used as free joysticks or permanently attached to the main console.
Instruction of assembly
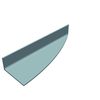
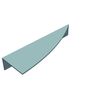
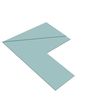
- Conntect BodyRightDown and BodyLeftDown. Use super glue (cyanoacrylate glue)

2 Connect BodyLeftUp and BodyRightUp.

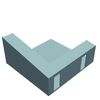
3 Conect whole Body. You can still use super glue.

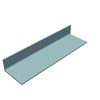
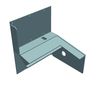
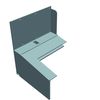
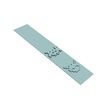
4. Next you have to strenghten whole construction by adding stickers. Stickers have a slightly concave inner side. This is the place for the flexible polymer glue.
Spread glue over them and stick them on the inside of the console where the main parts connect. The place of the stickers is indicated by their name when looking at the console from the front.

5. You can fix them with clamps

6 Insert the monitor in from the back. If there is a part of your monitor that doesn't fit, you can try cutting it out or cutting out or melting a space in the base.

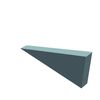
7. To immobilize the monitor, use a wedge that is inserted through the hole from the top

8. Attach joystick using usual wood screws

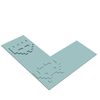
9. If you want you can add front panel. To print it with color use color change option in slicer.Each color is on different height. Of course you can simple change color as you want or design you own panel.

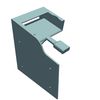
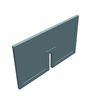
10. If you want you can add optional back mini wall which keep all cables inside. On picture below version with Raspberry Pi

11. If you are using Anbernic RG35XX, screw the AnbernicHolder to the side of the main body. You need to drill or melt holes in the main body. Whole setup look like this

Elekctronics
1. If you have Anbernic RG35XX you need:
Of course Anbernic RG35XX or other hanheld with hdmi out for monitor and usb in for controllers.

Mini hdmi to analog D-sub adapter

Usb type c to normal USB and charging port adapter.
You can also use a USB C to normal USB adapter without a charging port and charge the Anbernic separately when it runs out of charge
I use this https://www.amazon.pl/gp/product/B0B5MPCJF5/ref=ppx_yo_dt_b_asin_title_o02_s00?ie=UTF8&th=1

USB splitter for two joysticks
I use this https://www.amazon.pl/gp/product/B0BLBZ6NMB/ref=ppx_yo_dt_b_asin_title_o00_s00?ie=UTF8&psc=1

In this video on Youtube you have information about which component works with Anberbnic
2. If you have Raspberry Pi you need
Raspberry Pi - I used Raspberry Pi 3A+
USB splitter for two joysticks
Proper system. I used Recalbox
Rest of electonic is typical"
-D-sub cable for monitor
-charger
-power strip
-sound bar ( I use this https://allegro.pl/oferta/soundbar-glosniki-komputerowe-do-laptopa-usb-led-10852422864 )
That's all. If you have any questions don't hesitate to text me :)
License
❌ Sharing without ATTRIBUTION
✔️ Remix Culture allowed
❌ Commercial Use
❌ Free Cultural Works
❌ Meets Open Definition
This work is licensed under a Creative Commons (4.0 International License) Attribution—Noncommercial—Share Alike
https://creativecommons.org/licenses/by-nc-sa/4.0/
All files (22)


Details parameters
Other information
| Created on | July 3, 2024, 7:03 a.m. |
|---|---|
| Last edition | March 25, 2026, 2:57 a.m. |
| Added by | @Sevro |
| Category | Toys & Games |
| License dates | Yes |
| Product status | Active |
| Downloads | 5493 |
|---|---|
| Rating | 0.0 |
| Number of likes | 11 |
Customer reviews
0.0 out of 511 global ratingsReview this product
Share your thoughts with other customers.
Reviews (0)
No one has added a comment yet
No one has commented on this product yet. If you downloaded this product or like what you see, please rate it. Comments are very useful for other users. Build a community with our website today!