

Foldable Stand for Laptops, Tablets, and Notebooks
20
8
Matthias_L
@Matthias_L
| Designs: | 25 |
| Downloads: | 9789 |
| Followers: | 1 |
| About me: | "Why waste time use lot polys if few polys do trick?" |
Product description
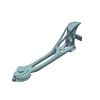
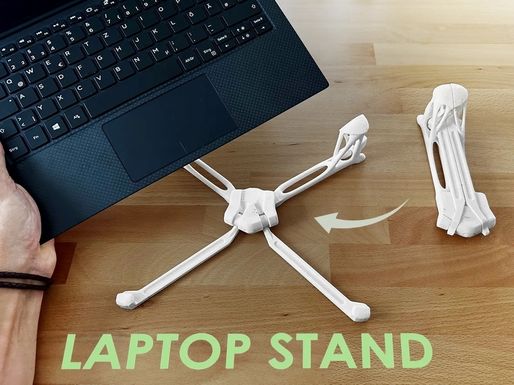
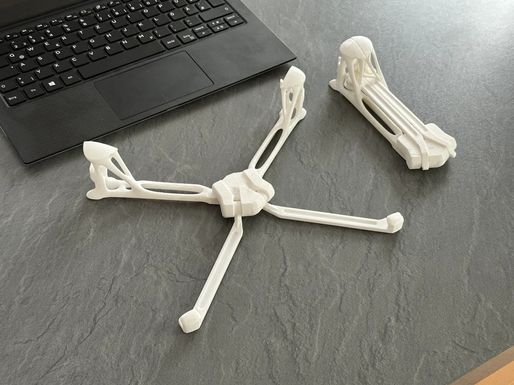
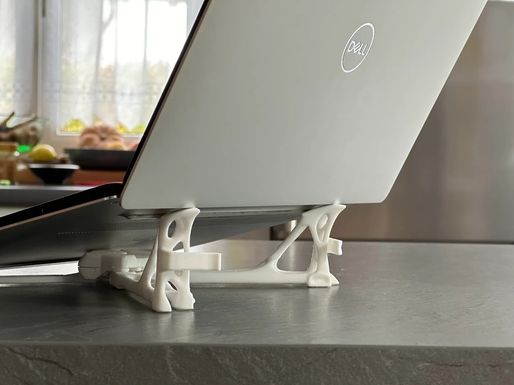
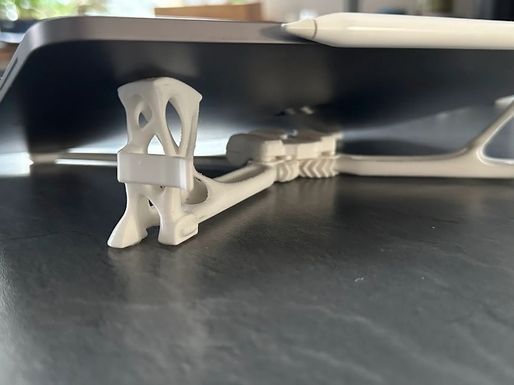
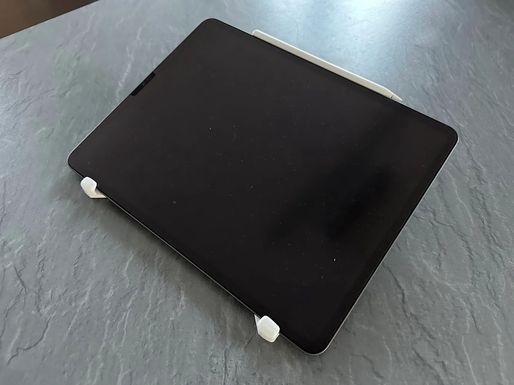
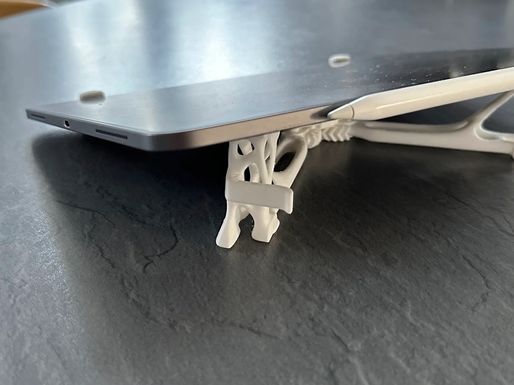
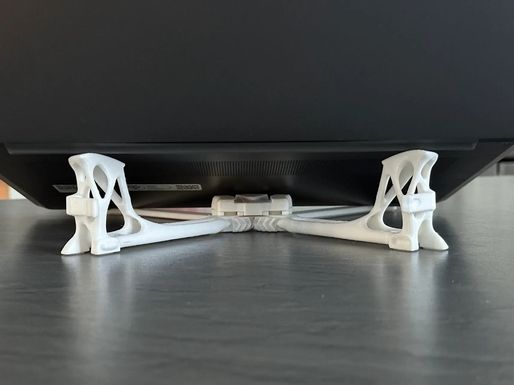
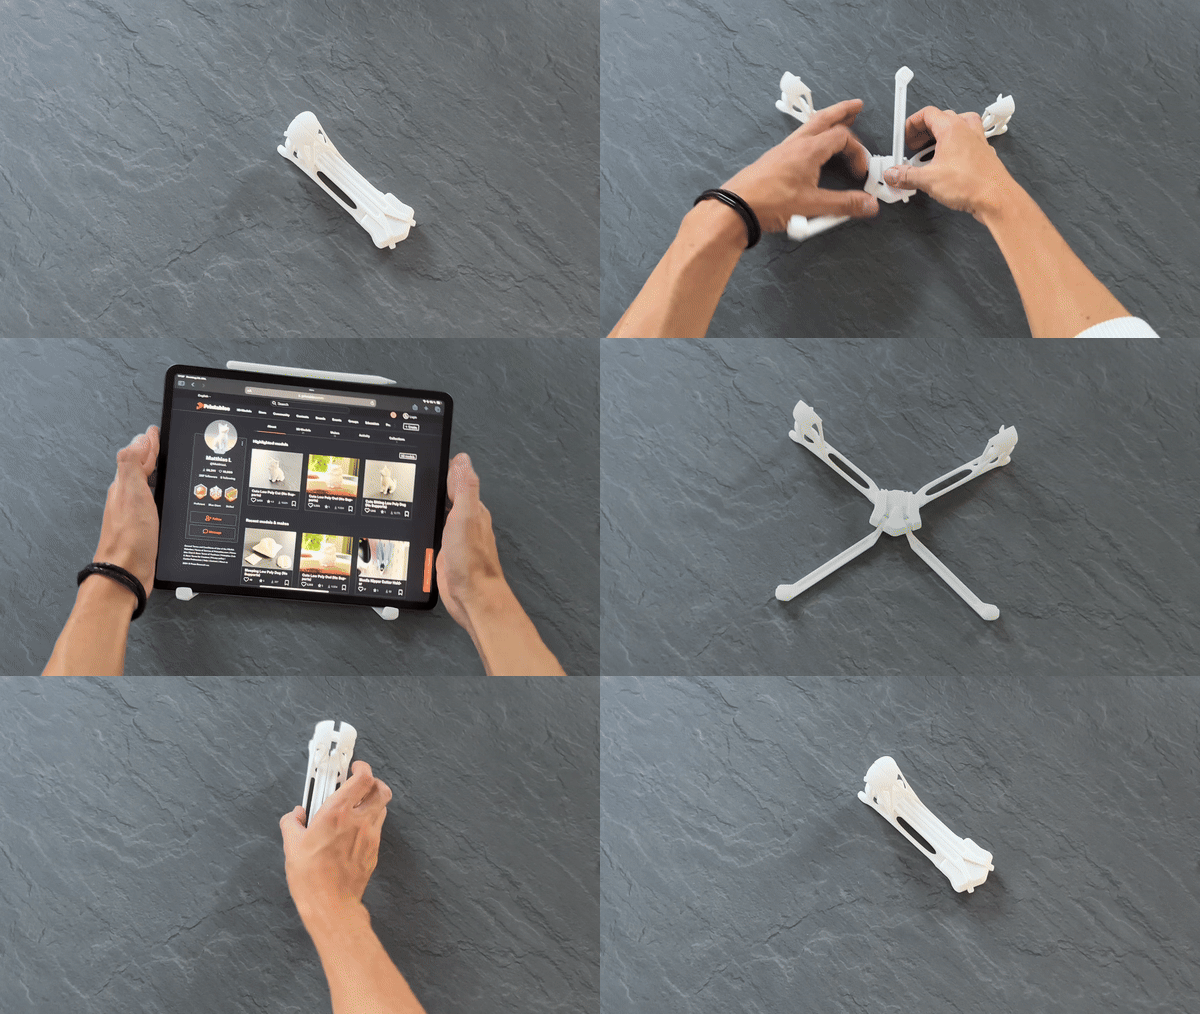
This slightly overengineered laptop stand was made to improve cooling flow under your laptop (thus improving performance) and also improving ergonomics by rising the display height. It is also perfectly suitable for tablets!
The base model was designed for 13" laptops and can fit on a small (e.g. 16x16cm) print bed in one go.
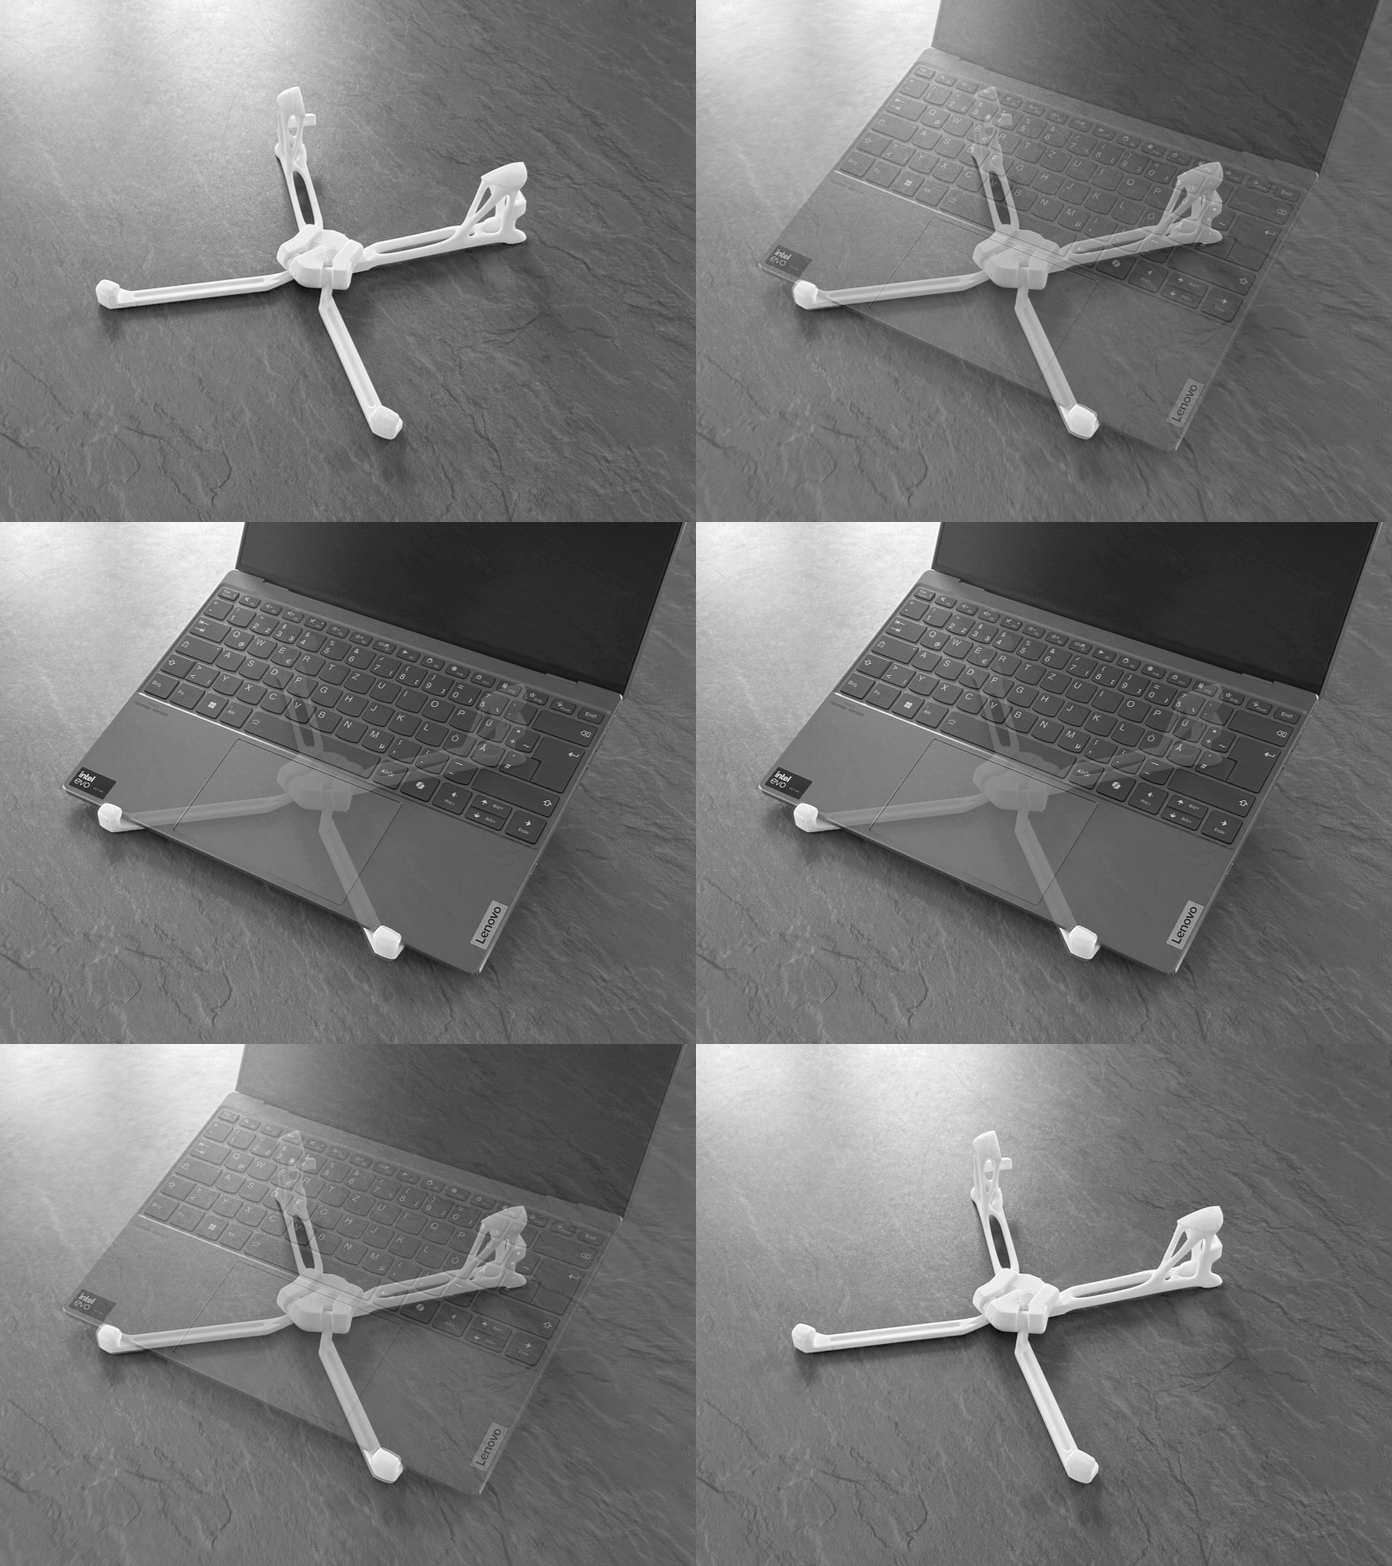
Features:
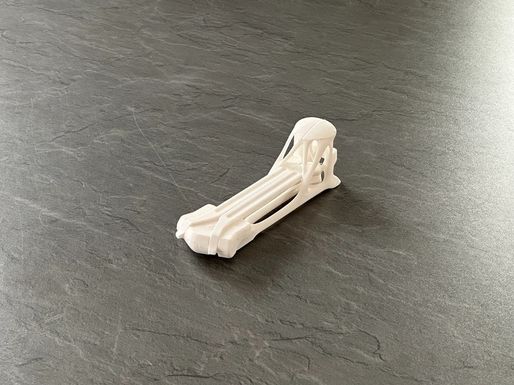
- Foldable, so it is portable and very compact when not in use
- Durable. Just fold it and throw it into your backpack, it won't break
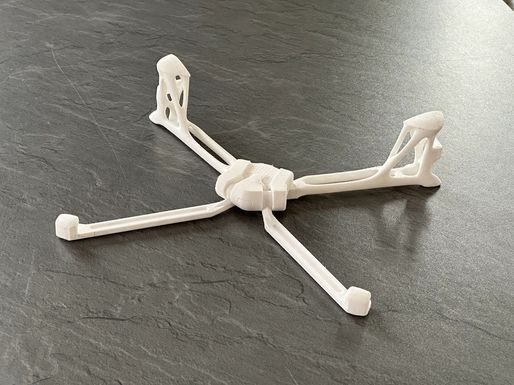
- Convenient: Clips hold it together in folded position, the rear legs are adjustable (but coupled for symmetrical movement), and the whole stand is held together by a single screw (or one drop of glue)
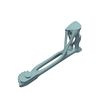
- Topology optimized: While also increasing the weight capabilities beyond any laptop weight (including your heavy hands), the main focus was to optimize the topology for low material usage and minimize the need for supports.
- Fits on small printers: I printed the 13" version on a Ender 2 Pro with 165x165mm print bed in one go
- Adaptable: Variations in overall size and height in front clamps make it fit for almost any laptop and tablet!
- Conversation Starter: Not intended in the design, but your engineer friends will definitely ask you about this laptop stand.
Print in 100% size for most 13" laptops and in 115% for 15" laptops. Let's complete this table together. Tell me which size you used for your laptop!
85%: 11" iPad (use with big claws)
100%: Dell XPS13, Lenovo ThinkBook 13x, Asus Zenbook UX31A, 12.9" iPad
115%: …
Let me know if you need specific adjustments for your laptop type. I'm happy to help.
Printing:
Parts:
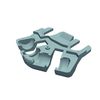
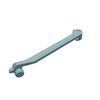
- Front legs (l/r) (available in two sizes),
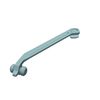
- Rear legs (l/r) (available in two sizes),
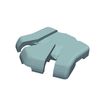
- center bottom and center top,
- support blocker for each of the rear legs
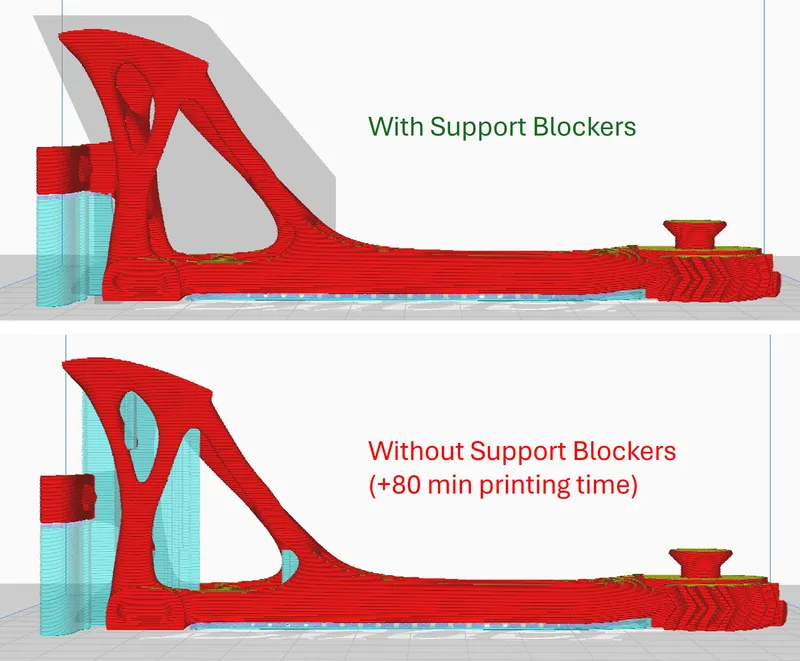
The support Blockers are used to disable supports in the topology optimized part below the larger contact surfaces. This structure was designed in a way that enables it to be printed without supports. But: Supports are needed for the other parts of the rear legs and for the other components, so make sure supports are enabled and only this certain section is blocked by support blockers. Using support blockers reduces printing time by about 80 minutes.
Slicer Parts Placement:
To fit all parts onto a small printer bed, arrange them as displayed in the image below.
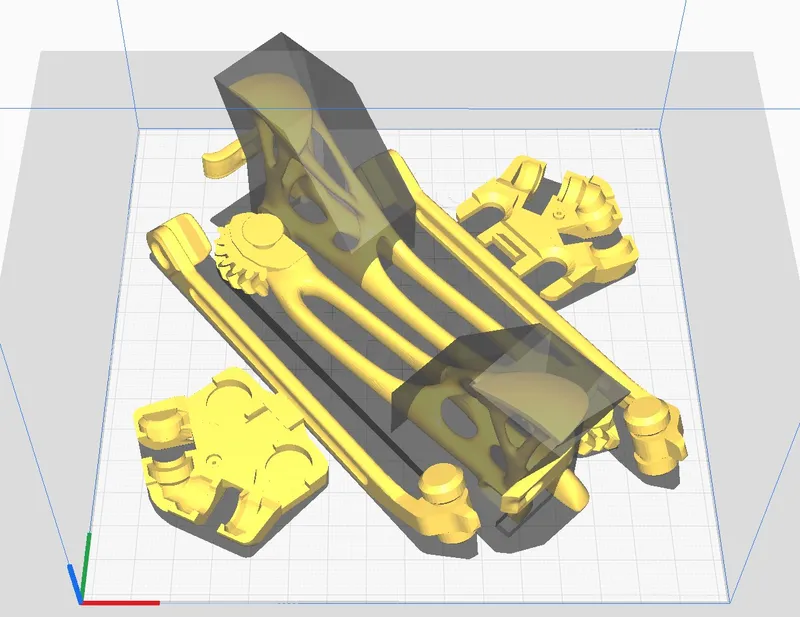
The support blockers are supposed to cover the topology optimized section under the main contact surfaces while leaving out the area under the clip!
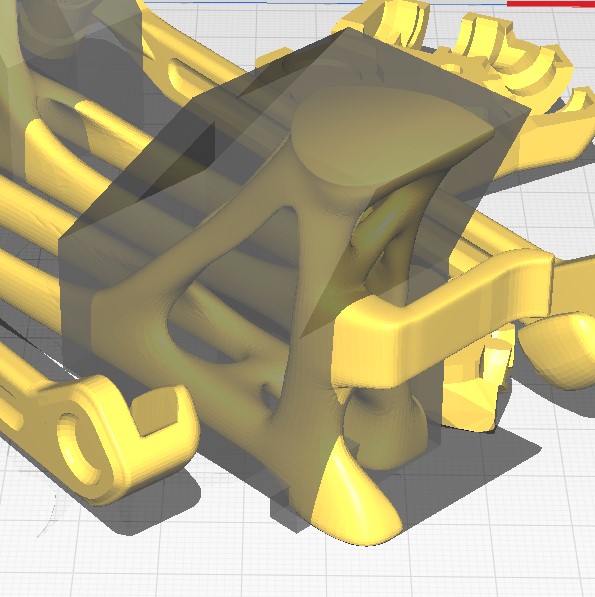
If the blockers are used currectly and are flush with the floor surface, they automatically also leave out the thin are between rear legs and floor to make sure that supports will still be used there.
The front legs are positioned on their sides to minimize the use of supports and both halves of the center section are positioned with the outside surface to the floor.
Slicer Settings:
Except for the support settings, there are no special settings needed for this project. Just use your usual settings. These are the settings i used:
- Layer height: 0.2mm
- Line width: 0.4mm
- Support Overhang: 65°
- Support Pattern: Zig Zag
- Infill: 15%
Assembly:
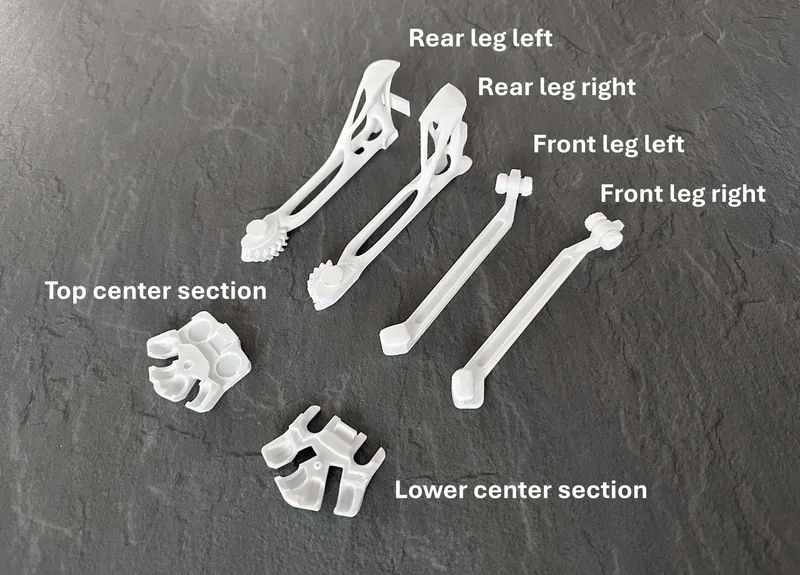
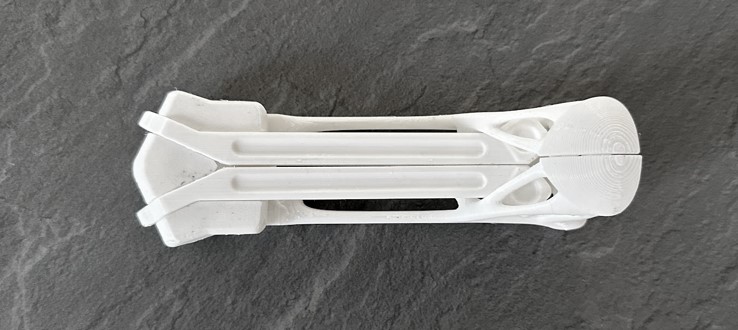
After printing all parts and removing supports, but the rear legs together in a closed configuration. You can make sure the gears are in the correct position by first hooking in the clip and then pusing the gears into each other.
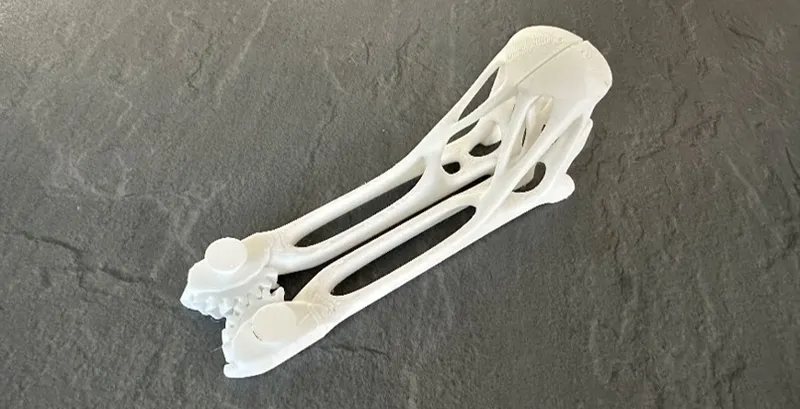
Then, take the lower half of the center section and slide the rotation axis of both rear legs combined into the respective mount of the center section.

Attach the front legs by lowering them into the lower center section in the open configuration.
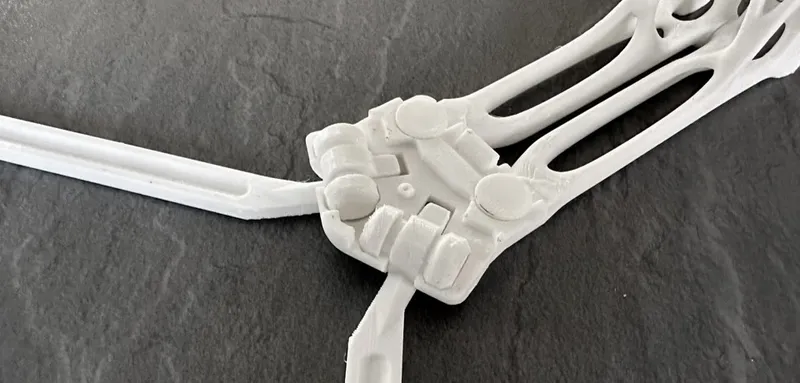
If you want to glue laptop stand, put some glue in the center section as shown in the image below. But make sure to test if the size of the stand fits your laptop first as this cannot be undone. I recommend to use a screw instead as described in the next steps.
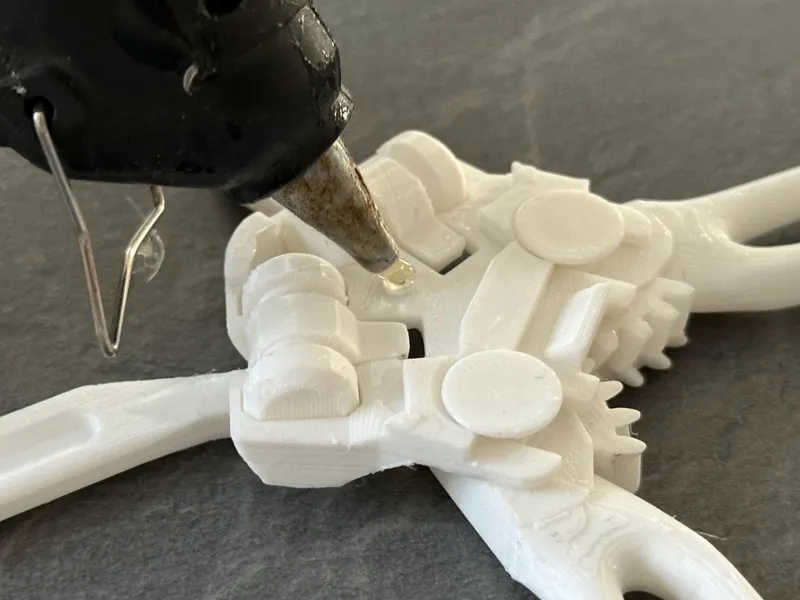
The laptop stand can now be finished by taking the top half of the center section, hooking it into the lower center section on one side and pushing it down.

After combining all parts, carefully open the rear legs, fold in the front legs and close the rear legs again. The front legs can only be folded in- or outwards when the rear legs are opened.
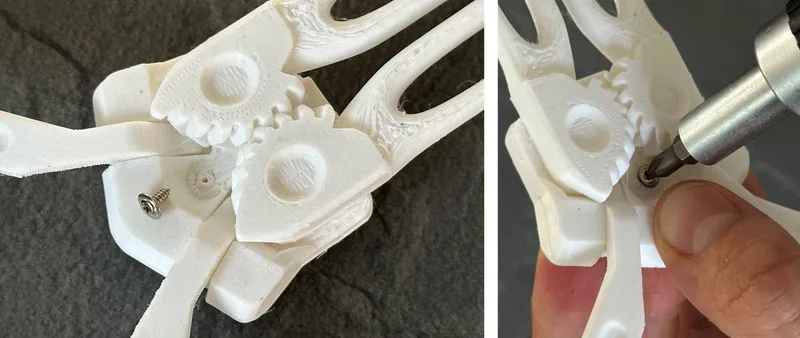
Instead of using glue, you can put a small screw into the lower half of the laptop stand. To do this, flip over the assembly in the closed position and force a small screw into the small hole between the gears while firmly pressing together top and lower half of the center section.
For additional grip on the table surface, i recommend to but drops of hot glue into the designated indentations in the eight contact surfaces of rear and front legs. This works best by filling the indentation with hot glue and then setting it down on a sheet of parchment paper while applying very light pressure to flatten it out. After letting it cool down, it can easily be separated from the paper, which leaves a nice, flat, and grippy contact surface.

Variations:
I made Variations of the front legs (different “Claw” sizes) and the rear legs (taller versions to increase the angle between table and device. You can find these Versions in the respective download folders. The versions with bigger front leg claws also come with adapted rear legs to make them fit in the folded position.
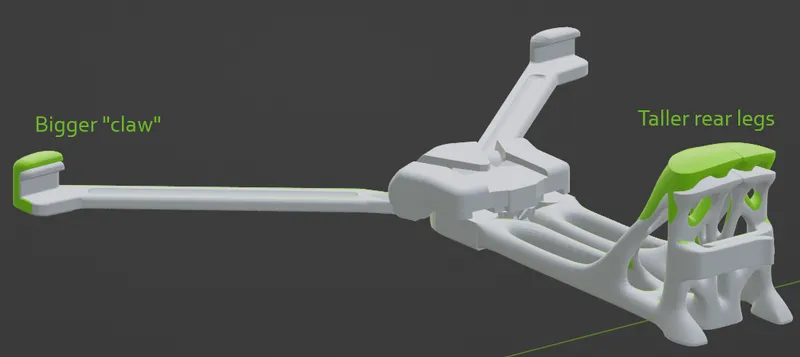
Let me know if you need another version to make this stand compatible with your laptop. I'm happy to adjust it for you.
License
PERSONAL USE ONLY. You are authorized to:
✔️Print and use the 3D prints of the 3D model for private use, in unlimited quantity;
✔️Share the images of your 3D prints of the 3D model on communication media such as social networks or websites.
What is not allowed:
❌No commercial use or public sharing of the 3D model;
❌No modification or adaptation of the 3D model for public sharing or sale;
❌No distribution, sale, donation or exchange of the digital files of the 3D model.
All files (12)
Log in to download files.
Details parameters
Other information
| Created on | Jan. 10, 2025, 4:10 p.m. |
|---|---|
| Last edition | Feb. 3, 2026, 6:50 a.m. |
| Added by | @Matthias_L |
| Category | Gadgets |
| License dates | Yes |
| Product status | Active |
| Downloads | 20 |
|---|---|
| Rating | 0.0 |
| Number of likes | 8 |
Customer reviews
0.0 out of 58 global ratingsReview this product
Share your thoughts with other customers.
Reviews (0)
No one has added a comment yet
No one has commented on this product yet. If you downloaded this product or like what you see, please rate it. Comments are very useful for other users. Build a community with our website today!


