

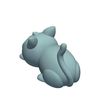
Cute Cat
1262
9
3dprintyi
@3dprintyi
| Designs: | 51 |
| Downloads: | 46034 |
| Followers: | 11 |
| About me: | If you liked my model you can support me here: buymeacoffee.com/3DPrintyi or here for commercial use of my models on Patreon: https://patreon.com/3DPrintyi Thank you! "New week, new project! My hobby is 3D printing and I'm totally excited about it. As a designer and maker, I love turning my ideas into reality, especially diving into the world of multicolor. I hope my models bring you as much joy as they do to me. #3Dprinting #designerlife #multicolorlove #makercommunity" If you have any questions, just write me a message. Upload time of my latest model: Every Sunday |
Product description
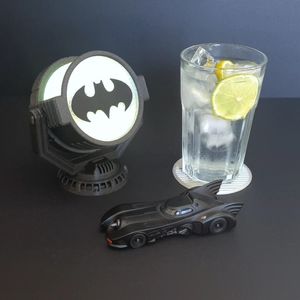
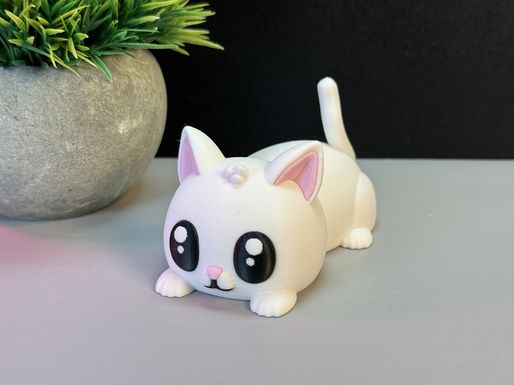
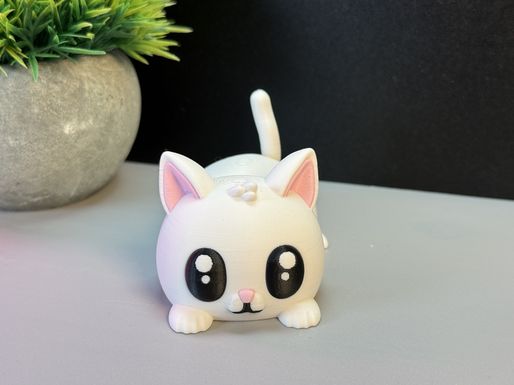
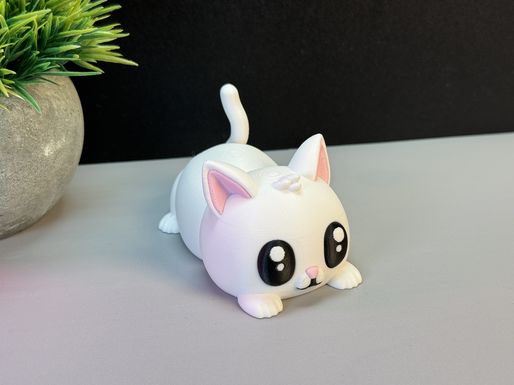
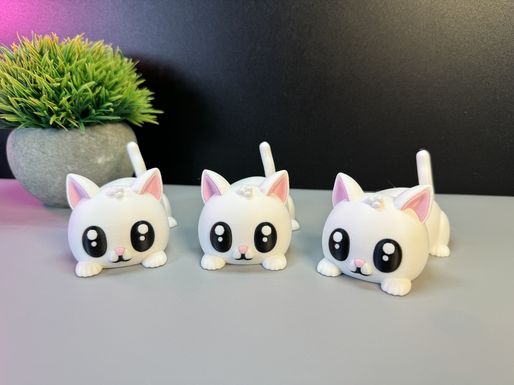
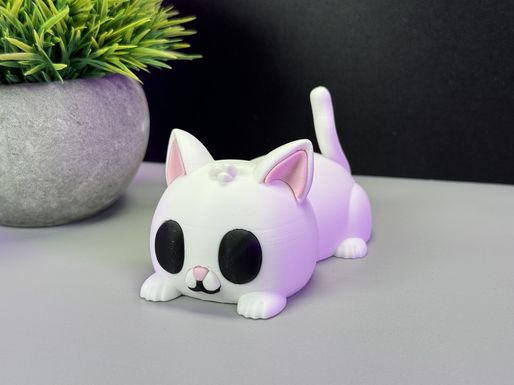
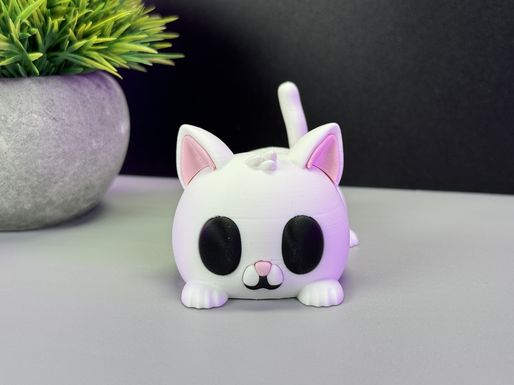
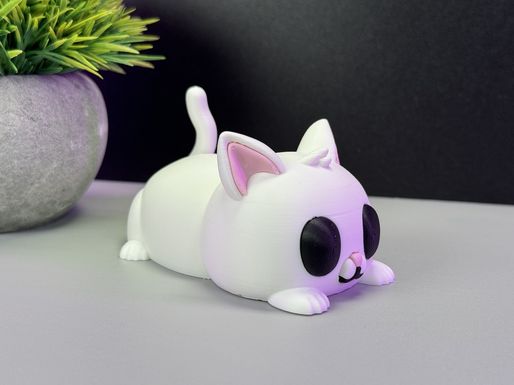
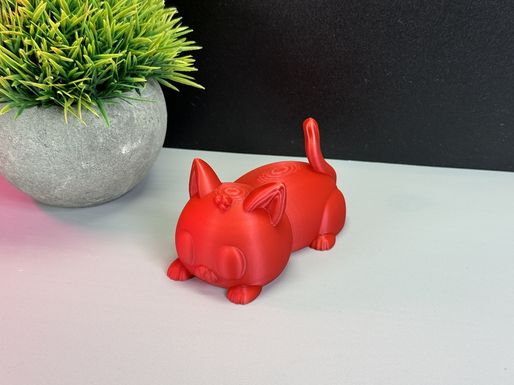
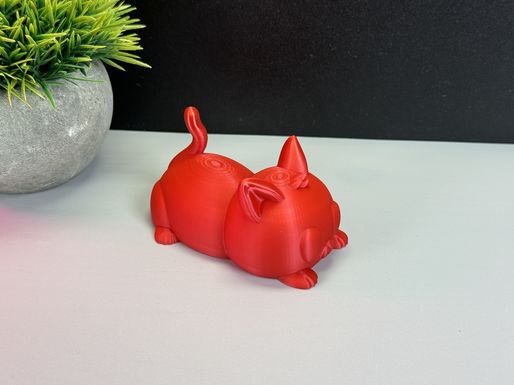
A cute cat (Single or Multicolor)
Now with the option to print out multiple parts.
Printing settings
Tips for printing:
- Supports: No
- Layer height:0.16mm (optimal)
- Wall loops:3
- Infill:15%
- Seam position:back
- Wall generator: -
- Detect thin walls:No
- Brim: Yes
Colors and filament I used (3 Color Version):
- PLA / White-for the body and eye
- PLA / Black- for the eye
- PLA / Pink- for the nose and ears
Or decide for yourself which colors and how many you want to use!
When you decide to print my multicolor Pre-Sliced (3mf file) for BambuLab I would recommend printing several models at once, not just one, to reduce waste!
----------------------------------------
Multiple Parts:
Tips for printing:
- Supports: Yes (tree)
- Layer height:0.10mm (fine (looks better)) or 0.16 (optimal)
- Wall loops:3
- Infill:15%
- Seam position:back
- Wall generator: -
- Detect thin walls:No
- Brim: Yes
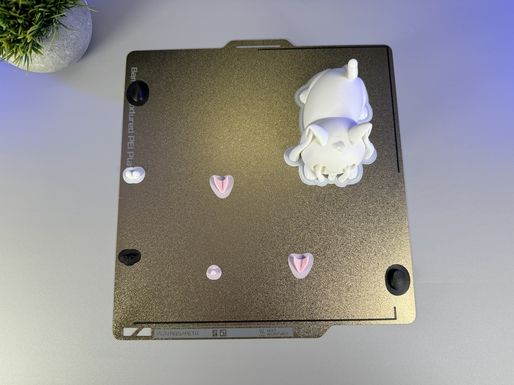
You can now print out several parts and simply glue them on. (See Picture below)
The mouth, nose and cheek with the body do not go together easily. Please use a file or something else and carefully try to file away any unevenness!!!!!
There are points on every part to help you guide the parts in the right place! Below I wrote a small documentation for assembling.

First: The ears and eyes are easy to attach, you can glue them right away! For the mouth part put the cheek together with the nose and mouth. Don't use any glue jet!

Second: Now lightly press the parts into the body. See if these fit perfectly if not file a small part away or there is still a small bead (brim) on the parts! We have to do this because the tolerances are extremely small so that it looks good in the end. If everything fits afterwards, you can glue them and press them in with a little bit of force.

Finished! :)

Happy printing!
License
PERSONAL USE ONLY. You are authorized to:
✔️Print and use the 3D prints of the 3D model for private use, in unlimited quantity;
✔️Share the images of your 3D prints of the 3D model on communication media such as social networks or websites.
What is not allowed:
❌No commercial use or public sharing of the 3D model;
❌No modification or adaptation of the 3D model for public sharing or sale;
❌No distribution, sale, donation or exchange of the digital files of the 3D model.
All files (6)
Details parameters
<p><strong>Tips for printing:</strong></p><ul><li><strong>Supports:</strong><i> No</i></li><li><strong>Layer height:</strong> <i>0.16mm (optimal)</i></li><li><strong>Wall loops:</strong> <i>3</i></li><li><strong>Infill:</strong> <i>15%</i></li><li><strong>Seam position:</strong> <i>back</i></li><li><strong>Wall generator: -</strong></li><li><strong>Detect thin walls:</strong> <i>No</i></li><li><strong>Brim:</strong><i> Yes</i></li></ul><p><strong>Colors and filament I used (3 Color Version):</strong></p><ul><li><strong>PLA / White</strong> <strong>-</strong> <i>for the body and eye</i></li><li><strong>PLA / Black</strong> <strong>-</strong><i> for the eye</i></li><li><strong>PLA / Pink</strong> <strong>-</strong><i> for the nose and ears</i></li></ul><p><strong>Or decide for yourself which colors and how many you want to use!</strong></p><p><strong>When you decide to print my multicolor Pre-Sliced (3mf file) for BambuLab I would recommend printing several models at once, not just one, to reduce waste!</strong></p><p><strong>----------------------------------------</strong></p><p><strong>Multiple Parts:</strong></p><p><strong>Tips for printing:</strong></p><ul><li><strong>Supports:</strong><i> Yes (tree)</i></li><li><strong>Layer height:</strong> <i>0.10mm (fine (looks better)) or 0.16 (optimal)</i></li><li><strong>Wall loops:</strong> <i>3</i></li><li><strong>Infill:</strong> <i>15%</i></li><li><strong>Seam position:</strong> <i>back</i></li><li><strong>Wall generator: -</strong></li><li><strong>Detect thin walls:</strong> <i>No</i></li><li><i><strong>Brim: </strong>Yes</i></li></ul><p><strong>You can now print out several parts and simply glue them on. (See Picture below)</strong></p><p><strong>The mouth, nose and cheek with the body do not go together easily. Please use a file or something else and carefully try to file away any unevenness!!!!!</strong></p><p><strong>There are points on every part to help you guide the parts in the right place! Below I wrote a small documentation for assembling.</strong></p><figure class="image"><img style="aspect-ratio:2130/1519;" src="https://media.printables.com/media/prints/840157/rich_content/5eef679a-8616-4437-b107-8aee4be8d9cc/bildschirmfoto-2024-05-12-um-134753.jpg#%7B%22uuid%22%3A%22980e33d6-4f73-40ac-9815-25b94cee8fed%22%2C%22w%22%3A2130%2C%22h%22%3A1519%7D" width="2130" height="1519"></figure><p>First: The ears and eyes are easy to attach, you can glue them right away! For the mouth part put the cheek together with the nose and mouth. Don't use any glue jet!</p><figure class="image"><img style="aspect-ratio:4032/3024;" src="https://media.printables.com/media/prints/840157/rich_content/0ed3de02-cd0b-499e-95e0-e347b270c36c/img_1810.jpg#%7B%22uuid%22%3A%22f264a90d-c97b-4b91-a6d8-59e6e17e9cbe%22%2C%22w%22%3A4032%2C%22h%22%3A3024%7D" width="4032" height="3024"></figure><p>Second: Now lightly press the parts into the body. See if these fit perfectly if not file a small part away or there is still a small bead (brim) on the parts! We have to do this because the tolerances are extremely small so that it looks good in the end. If everything fits afterwards, you can glue them and press them in with a little bit of force. </p><figure class="image"><img style="aspect-ratio:3024/4032;" src="https://media.printables.com/media/prints/840157/rich_content/e8aa1195-a61d-49ef-8810-f763ad99f514/img_1811.jpg#%7B%22uuid%22%3A%22352a6ad6-9638-4ad5-bc5b-c4a307c63ffb%22%2C%22w%22%3A3024%2C%22h%22%3A4032%7D" width="3024" height="4032"></figure><p>Finished! :)</p><figure class="image"><img style="aspect-ratio:4032/3024;" src="https://media.printables.com/media/prints/840157/rich_content/c3ba519d-bcfc-472d-8f87-b515c2525a3f/img_1815.jpg#%7B%22uuid%22%3A%22537918bd-220c-492c-b34f-b2081dc9376c%22%2C%22w%22%3A4032%2C%22h%22%3A3024%7D" width="4032" height="3024"></figure><p><strong>Happy printing!</strong></p>
Other information
| Created on | July 21, 2024, 9:22 a.m. |
|---|---|
| Last edition | Oct. 28, 2025, 8:38 p.m. |
| Added by | @3dprintyi |
| Category | Miniatures |
| License dates | Yes |
| Product status | Active |
| Downloads | 1262 |
|---|---|
| Rating | 0.0 |
| Number of likes | 9 |
Customer reviews
0.0 out of 59 global ratingsReview this product
Share your thoughts with other customers.
Reviews (0)
No one has added a comment yet
No one has commented on this product yet. If you downloaded this product or like what you see, please rate it. Comments are very useful for other users. Build a community with our website today!